
Logging is one of the most important aspects of any application. It helps developers track errors, monitor performance, and debug issues effectively. In Django, logging is highly configurable and integrates with Python’s built-in logging module.
In this tutorial, we’ll go step by step through Django logging configuration, based on the example you provided.
Why Logging Matters in Django?
- Debugging: Trace back issues in development or production.
- Monitoring: Know what’s happening inside your application.
- Auditing: Keep a history of actions/events.
- Error Handling: Notify admins when critical errors occur.
Basic Structure of Django Logging
Django logging configuration is defined in the settings.py file inside a dictionary named LOGGING. The main components are:
- version – Schema version (always
1). - disable_existing_loggers – Controls whether to disable Django’s default loggers.
- formatters – Define how log messages will look.
- handlers – Decide where log messages should go (console, file, email, etc.).
- loggers – Define which components use which handlers.
Example Logging Configuration
Here’s the configuration we’ll break down:
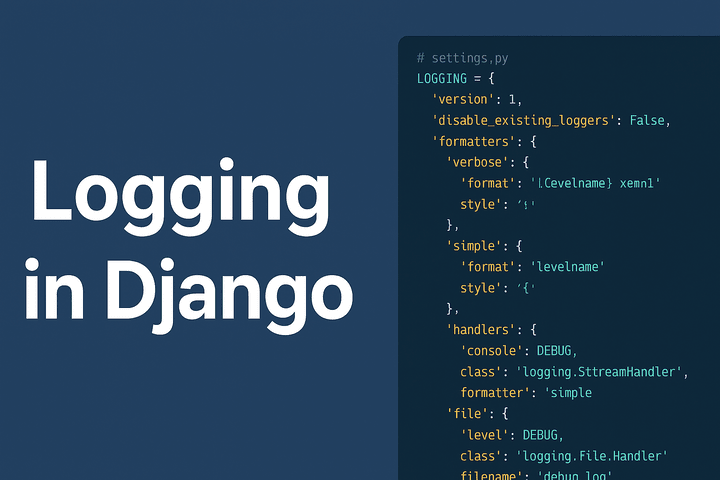
# settings.py

LOGGING = {
    'version': 1,
    'disable_existing_loggers': False,
    'formatters': {
        'verbose': {
            'format': '{levelname} {asctime} {module} {message}',
            'style': '{',
        },
        'simple': {
            'format': '{levelname} {message}',
            'style': '{',
        },
    },
    'handlers': {
        'console': {
            'level': 'DEBUG',
            'class': 'logging.StreamHandler',
            'formatter': 'simple',
        },
        'file': {
            'level': 'DEBUG',
            'class': 'logging.FileHandler',
            'filename': 'debug.log',
            'formatter': 'verbose',
        },
        'mail_admins': {
            'level': 'ERROR',
            'class': 'django.utils.log.AdminEmailHandler',
        },
    },
    'loggers': {
        'django': {
            'handlers': ['console', 'file'],
            'level': 'DEBUG',
            'propagate': True,
        },
        'myapp': {
            'handlers': ['console', 'file'],
            'level': 'DEBUG',
            'propagate': False,
        },
        'django.request': {
            'handlers': ['mail_admins'],
            'level': 'ERROR',
            'propagate': False,
        },
    },
}
Breaking It Down
1. Version
'version': 1,This must always be 1. It indicates the logging configuration schema version.
2. Disable Existing Loggers
'disable_existing_loggers': False,If set to True, Django’s default loggers will be disabled. Keeping it False ensures built-in loggers continue to work.
3. Formatters
'formatters': {
    'verbose': {
        'format': '{levelname} {asctime} {module} {message}',
        'style': '{',
    },
    'simple': {
        'format': '{levelname} {message}',
        'style': '{',
    },
},
- verbose – Logs with level, time, module, and message.
- simple – Logs with just level and message.
Example output:
DEBUG myapp.views User logged in
ERROR 2025-09-15 23:00:00 views Something went wrong!
4. Handlers
Handlers decide where logs go.
'handlers': {
    'console': {
        'level': 'DEBUG',
        'class': 'logging.StreamHandler',
        'formatter': 'simple',
    },
    'file': {
        'level': 'DEBUG',
        'class': 'logging.FileHandler',
        'filename': 'debug.log',
        'formatter': 'verbose',
    },
    'mail_admins': {
        'level': 'ERROR',
        'class': 'django.utils.log.AdminEmailHandler',
    },
},
- console – Outputs logs to the terminal.
- file – Saves logs into
debug.log. - mail_admins – Sends error logs to admins (requires
ADMINSconfigured insettings.py).
5. Loggers
Loggers control which parts of Django/app use which handlers.
'loggers': {
    'django': {
        'handlers': ['console', 'file'],
        'level': 'DEBUG',
        'propagate': True,
    },
    'myapp': {
        'handlers': ['console', 'file'],
        'level': 'DEBUG',
        'propagate': False,
    },
    'django.request': {
        'handlers': ['mail_admins'],
        'level': 'ERROR',
        'propagate': False,
    },
},
- django – Logs all Django-related events to console and file.
- myapp – Logs events from your custom app (e.g.,
views.py) to console and file. - django.request – Logs only HTTP errors and emails admins.
Testing Logging in Django
Inside your Django views or any Python file, you can log like this:
import logging

logger = logging.getLogger('myapp')


def home(request):
    logger.debug("Debugging home view")
    logger.info("Home view accessed")
    logger.warning("This is a warning!")
    logger.error("Something went wrong!")
    return HttpResponse("Check logs!")
✅ Debug/Info/Warning messages will appear in the console and debug.log file.
✅ Errors will be sent to admins (if configured).
Best Practices for Django Logging
- Use different log levels wisely:
DEBUG: Development info.INFO: General events.WARNING: Unexpected behavior.ERROR: Serious issues.CRITICAL: System failure.
- Rotate log files – Use
logging.handlers.RotatingFileHandlerto avoid huge log files. - Separate dev/prod settings – In production, disable debug logs to reduce noise.
- Email critical errors – Configure
ADMINSinsettings.py. - Centralized logging – Use external tools like ELK Stack, Sentry, or Graylog.
Conclusion
Logging in Django is powerful and flexible. With the right configuration:
- You can debug efficiently in development.
- You can monitor performance and issues in production.
- You can get alerts for errors immediately.
By setting up console, file, and email handlers, you ensure your application stays reliable and easy to maintain.
🔎 Next Steps:
- Integrate log rotation.
- Connect Django logs with Sentry for real-time error tracking.
- Fine-tune loggers for specific apps and modules.