
When building web applications, sometimes you need to restrict access to specific users or networks for security reasons. For example, you might want only internal team members (with fixed IPs) to access the Django admin panel or a private API.
One effective way to achieve this is by creating a custom middleware that whitelists allowed IP addresses and blocks all others.
🚀 What is IP Whitelisting?
IP Whitelisting is a security measure that grants access to a system only from a predefined set of IP addresses. Anyone trying to access your application from an IP not in the list will be denied.
This is commonly used to:
- Restrict access to admin dashboards.
- Protect internal APIs.
- Add an extra layer of security beyond authentication.
🛠️ Creating IP Whitelisting Middleware in Django
Let’s build a custom middleware class that allows requests only from specific IP addresses.
Step 1: Create the Middleware
Create a file middleware.py inside your Django app (e.g., core/middleware.py) and add the following code:
# core/middleware.py from django.http import HttpResponseForbidden
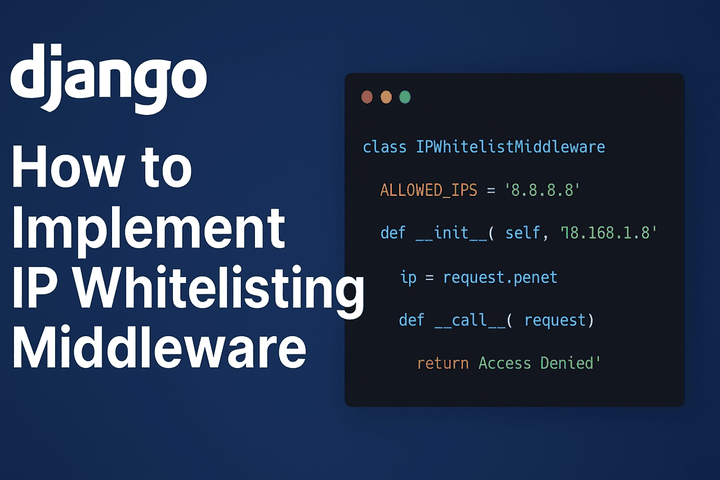
class IPWhitelistMiddleware:
# Define the list of allowed IP addresses
ALLOWED_IPS = ['8.8.8.8', '192.168.1.8']
def __init__(self, get_response):
self.get_response = get_response
def __call__(self, request):
# Get client IP address
ip = request.META.get('REMOTE_ADDR')
# Check if IP is allowed
if ip not in self.ALLOWED_IPS:
return HttpResponseForbidden("Access Denied")
return self.get_response(request)
Step 2: Add Middleware to Settings
In settings.py, register the middleware:
MIDDLEWARE = [
    # Django default middleware...
    'core.middleware.IPWhitelistMiddleware',  # 👈 Add here
]
Step 3: Test the Middleware
If you access the Django app from an allowed IP, the request will go through.
If you try from any other IP, you’ll get:
403 Forbidden
Access Denied
⚡ Enhancements
The simple version above works, but you can make it more powerful:
✅ Move ALLOWED_IPS to settings.py
# settings.py
ALLOWED_IPS = ['127.0.0.1', '192.168.1.100']
from django.conf import settings
from django.http import HttpResponseForbidden

class IPWhitelistMiddleware:
    def __init__(self, get_response):
        self.get_response = get_response

    def __call__(self, request):
        ip = request.META.get('REMOTE_ADDR')
        if ip not in getattr(settings, "ALLOWED_IPS", []):
            return HttpResponseForbidden("Access Denied")
        return self.get_response(request)
✅ Support Proxies & Load Balancers
If you’re behind a reverse proxy (e.g., Nginx, AWS ELB), use HTTP_X_FORWARDED_FOR instead of REMOTE_ADDR.
✅ Allow Specific Views
You could make a decorator to apply IP whitelisting only to certain views (e.g., admin or APIs).
🔐 Why Use IP Whitelisting?
- Extra layer of security beyond login credentials.
- Protects against brute force or automated attacks.
- Useful for staging environments where only developers should have access.
📝 Final Thoughts
Django makes it easy to implement custom middleware, and IP Whitelisting is a quick win for security. While it should not replace authentication or authorization, it’s a great way to restrict access to sensitive areas of your app.
If your project requires stricter access control, combining IP Whitelisting with VPN, firewalls, or OAuth authentication is highly recommended.